")
If you are looking for a simple, make-ahead breakfast or snack, this gluten-free Nut Butter Granola is exactly what you need. It comes together with pantry staples and gives you two delicious flavours in one batch—a naturally sweet fruity version and a rich chocolate-coated granola. The best part? You do not need extra effort. You simply split the batch at the end and create two completely different jars of goodness.
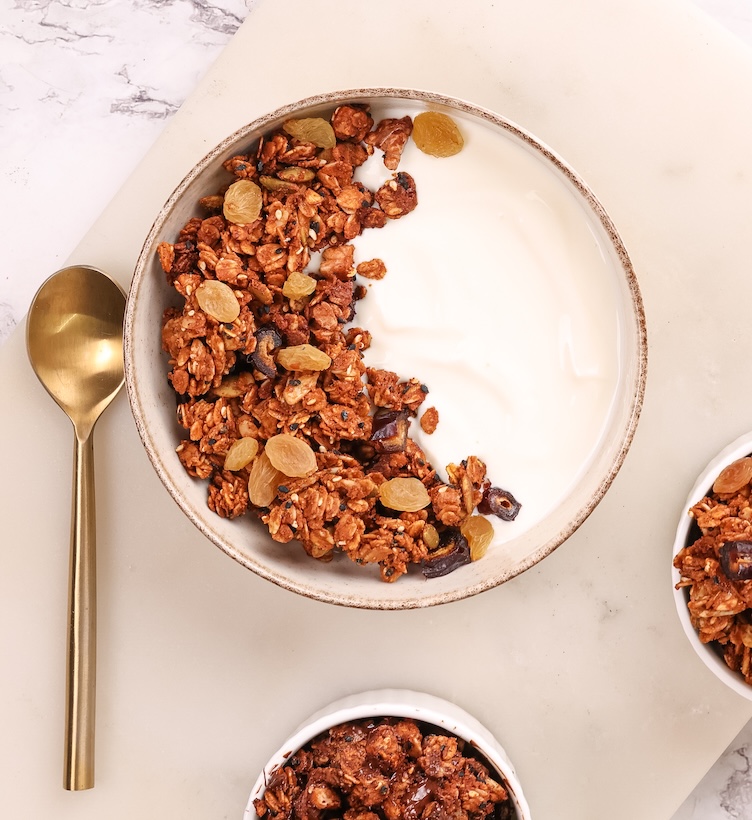
This granola is crunchy, full of clusters, and made with nut butter, oats, nuts, and seeds, making it a more wholesome and better-for-you alternative to store-bought options. It works beautifully with almond butter or peanut butter, so you can use what you already have at home.
Let’s look at the main Ingredients!
Nut Butter (Almond Butter or Peanut Butter)
Nut butter adds richness and helps bind the granola together. It creates those beautiful clusters while also adding protein and good fats that keep you full longer.
Honey or Maple Syrup
This acts as the natural sweetener in the recipe. It also helps caramelize the granola while baking, giving it a deep flavour and crunch.
Rolled Oats (Gluten-Free)
Oats form the base of this granola. They provide fibre and structure, and they crisp up beautifully in the oven.
Mixed Nuts
Nuts add crunch, texture, and depth of flavour. They also bring in healthy fats and make the granola more satisfying.
Seeds (Flax, Pumpkin, Sunflower, etc.)
Seeds add extra crunch and nutrition. They also balance the texture and make every bite more interesting.
Cinnamon
Cinnamon adds warmth and enhances the overall flavour. It pairs especially well with both the fruity and chocolate versions.
Salt
A small amount of salt balances the sweetness. It also enhances all the other flavours.
Dried Fruits (Dates & Raisins)
These are added to one half of the granola. They bring natural sweetness and a chewy texture.
Chopped Chocolate
Added to the second half, chocolate melts into the warm granola and coats it evenly. This creates a rich, indulgent version without extra steps.
If you are looking for more granola recipes, you may like these.
A link to my playlist with healthier Gluten free recipes is linked here too.
Why You Will Love This Recipe
- One base recipe gives you two completely different flavours
- Naturally sweetened and made with simple ingredients
- Gluten-free and easy to customize
- Perfect for meal prep (lasts up to 3 weeks)
- Crispy, crunchy clusters in every bite
- Works with both almond butter and peanut butter
- Great for breakfast, snacking, or dessert
This gluten-free Nut Butter Granola is one of those recipes you will keep making on repeat. It is simple, flexible, and gives you two flavour options without extra effort. Whether you prefer the fruity version or the chocolate one, you always have something delicious ready to go. Pair it with yogurt, milk, or enjoy it straight from the jar—it works every time.
1/2 cup (120g) - Nut Butter (Almond Butter or Peanut Butter) 1/2 cup (130g) - Honey or Maple syrup or 3/4 cup (110g) Jaggery + 2 tbsp (3 tbsp) Water 1/4 tsp Salt 1/2 tsp Cinnamon or 1 tsp Vanilla Extract 2 cups (220g) - Rolled Oats 1/2 cup (60g) - Mixed Seeds 1/4 cup (30g) - Chopped Nuts 1/2 cup (60g) - Chopped Dried Fruits 1/2 cup (50g) - Chopped Dark Chocolate [penci_video url="https://youtu.be/P8J-8I7s_3g" align="center" width="500" /] Step 1: Prepare the Base Step 2: Combine Dry Ingredients Step 3: Spread and Bake Step 4: Stir and Bake Again Step 5: Cool Properly Step 6: Create Two Flavours Step 7: Final Cooling")
Ingredients
Instructions
Add nut butter, honey or maple syrup, salt, and cinnamon to a bowl. Mix well until smooth and fully combined.
Add rolled oats, mixed nuts, and seeds to the bowl. Mix thoroughly so everything is evenly coated.
Spread the mixture onto a parchment or silicon mat lined baking tray. Bake in a preheated oven at 170°C for 10 minutes.
Remove the tray and stir the granola once. Return it to the oven and bake for another 10 minutes.
Let the granola cool on the tray with the oven door half open. This helps it become crisp without over baking.
Once halfway cooled, divide the granola into two halves. Add dried fruits to one half and chopped chocolate to the other.
Mix both portions well so the flavours are evenly distributed. Let them cool completely before storing. Store them in an airtight container for upto 3 weeks.Notes